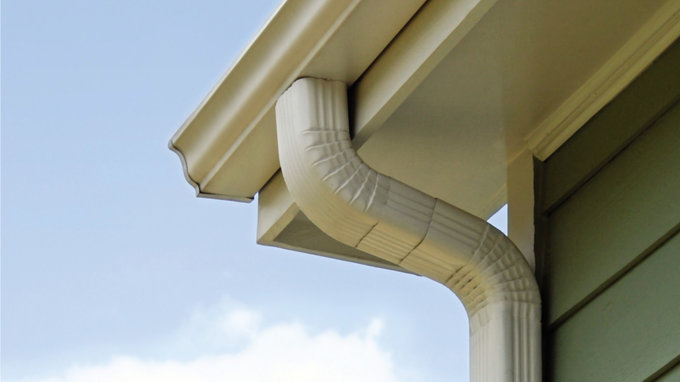
When it rains it pours...around here. Gutters are more than a necessity, they should blend in with the unique style of your home. Modern supplies a variety of high quality gutters and Leaf Guard products that will look great while they do their job, keeping the water away from your home and foundation.
Protection
Gutters prevent water damage, erosion, and potential basement flooding.
Curb Appeal
Choose from 2 different profiles and 17 colour options.
High Quality
We offer high quality gutters with an incredible 20-year warranty.
Leaf Guard
Prevent leaves, needles, and other debris from clogging the gutters.
Protect your biggest investment from our wet, West Coast weather with gutters from Modern. Our team will help you select the perfect gutters to complement the style of your home.
Getting to Know Your Gutter Options
Gutter FAQs
How do I keep leaves out of my gutters?
There are two schools of thought when it comes to stopping, or rather minimizing, the amount of leaves and particles that enter your eavestroughs. Leaf Guard, or gutter caps, can be installed with your gutters to inhibit leaves from entering.The second method is to use a funnel and leaf catcher combination. The funnel that is attached where the down pipe attaches to the gutter, allows for a larger hole to be placed in the eavestrough. This concept sees the materials that are collected in the eavestrough washed down through the funnel and then get trapped in the leaf catcher. Smaller particles like pine needles and cedar pieces will enter the gutter if they are small enough to slip through the holes.
Do you provide gutters for homes with metal roofs?
Yes, our gutter systems work with metal roofs but we do suggest using a “snow fence” to stop snow slides damaging your gutters.
Can you match new gutters to my existing gutter system?
We offer two different profiles, however they may not be exactly the same as the profile on your home. Colours are standard so matching colours is seldom an issue.
Do you do gutter repairs?
Modern offers gutter repairs including corner repairs, re-sloping and replacing certain sections of your gutter system that may have been damaged.

